Landcover Data Preparation#
MISLAND North Africa usese the European Space Agency (ESA) Climate Change Initiative (CCI) land cover dataset. This dataset provides global maps describing the land surface into 22 classes, which have been defined using the United Nations Food and Agriculture Organization’s (UN FAO) Land Cover Classification System (LCCS). In addition to the land cover (LC) maps, four quality flags are produced to document the reliability of the classification and change detection. In order to ensure continuity, these land cover maps are consistent with the series of global annual LC maps from the 1990s to 2015 produced by the European Space Agency (ESA) Climate Change Initiative (CCI), which are also available on the ESA CCI LC viewer.
The dataset can be downloaded here from the ESA C3S archives
Data Preprocessing Steps#
Unzip the C3S-LC-L4-LCCS-Map-300m-P1Y-yyyy-v2.1.1 data from the compressed format that it comes in after downloading. Closely examine the contents of this folder as it has various files.
Rasters option on admin panel#
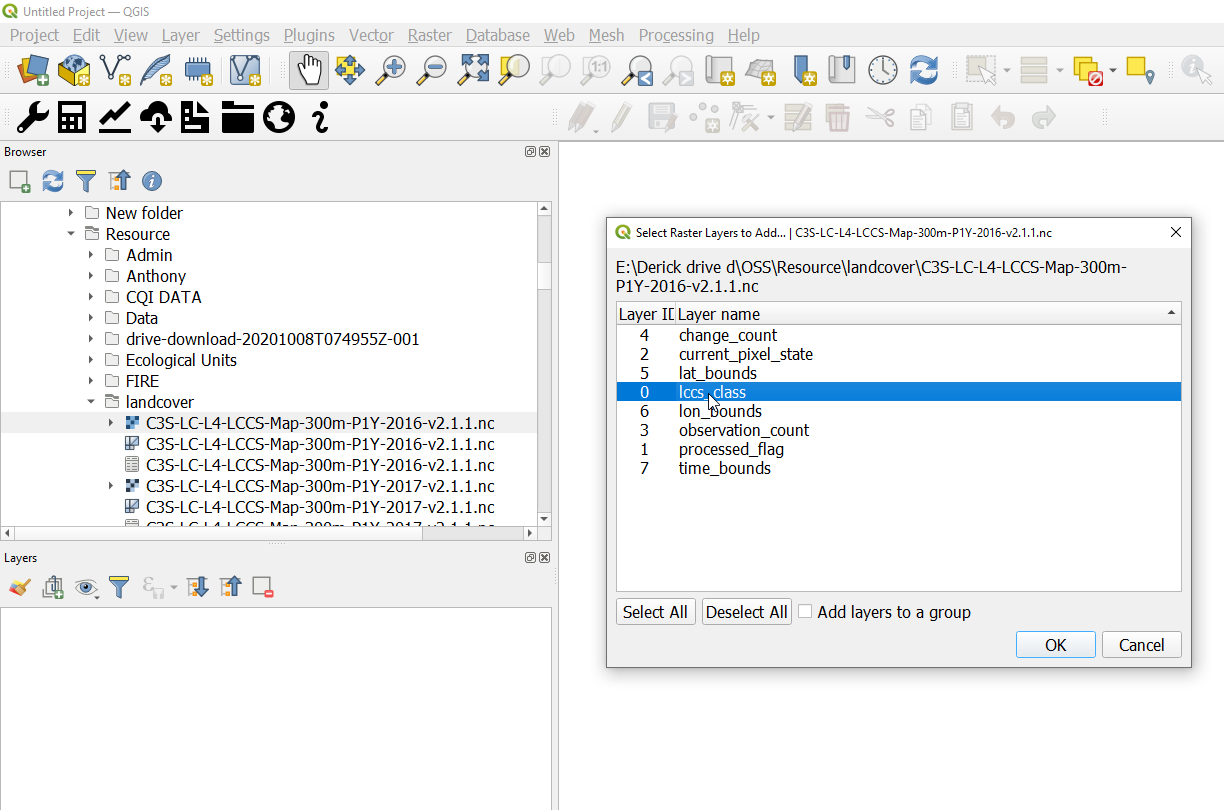
Load the unzipped NetCDF4 raster onto qgis and select the lccs_class on the “Select Raster Layers to Add” dialog.
Extraction by mask#
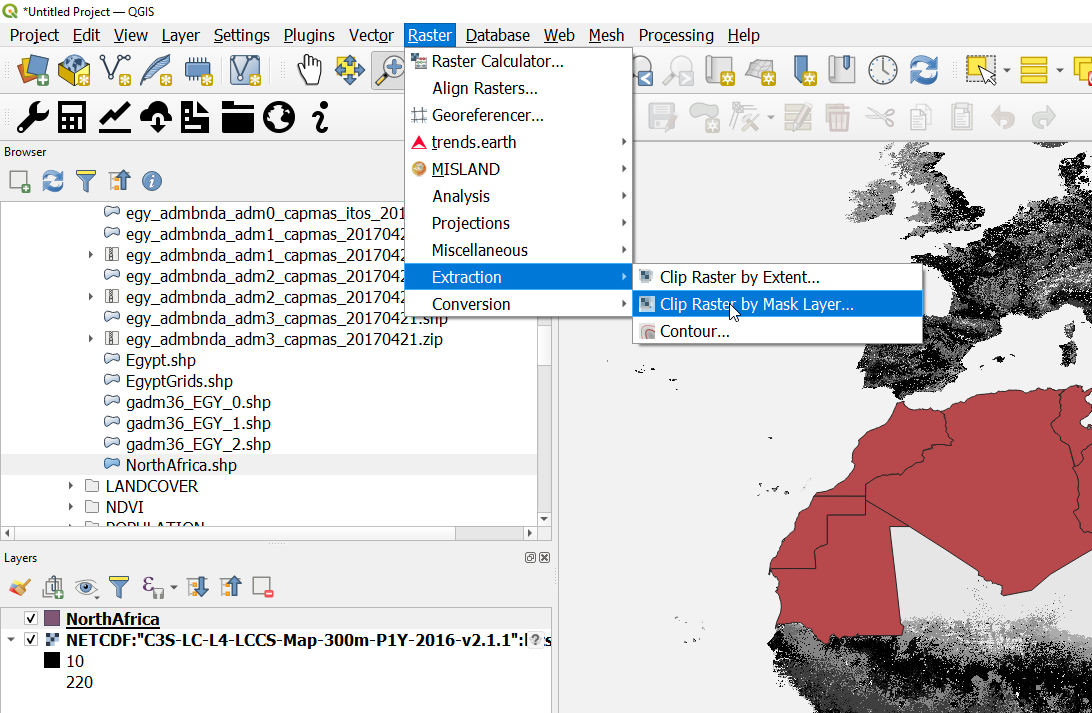
Once the raster layer is loaded add the vector layer of the OSS region and navigate to Raster > Extraction > Clip Raster by Mask Layer
Finding the r.reclass processing tool#
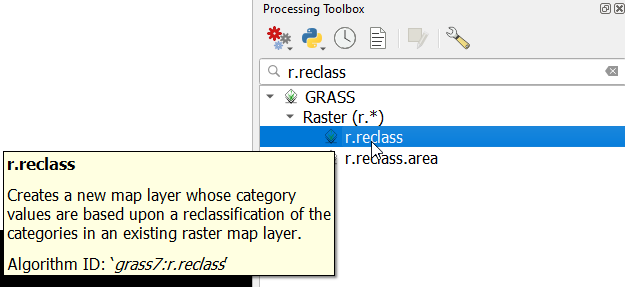
Once the raster layer has been clipped to the area of interest, open the processing toolbox and search for r.reclass and select the GRASS>Raster>r.reclass tool.

Finding the r.reclass processing tool#
On the r.reclass dialog that pops up, select the clipped land cover data as the input layer and paste the following reclassification rules into the “Reclass rules text box” and save the output in a desired location.
Finding the r.reclass processing tool#
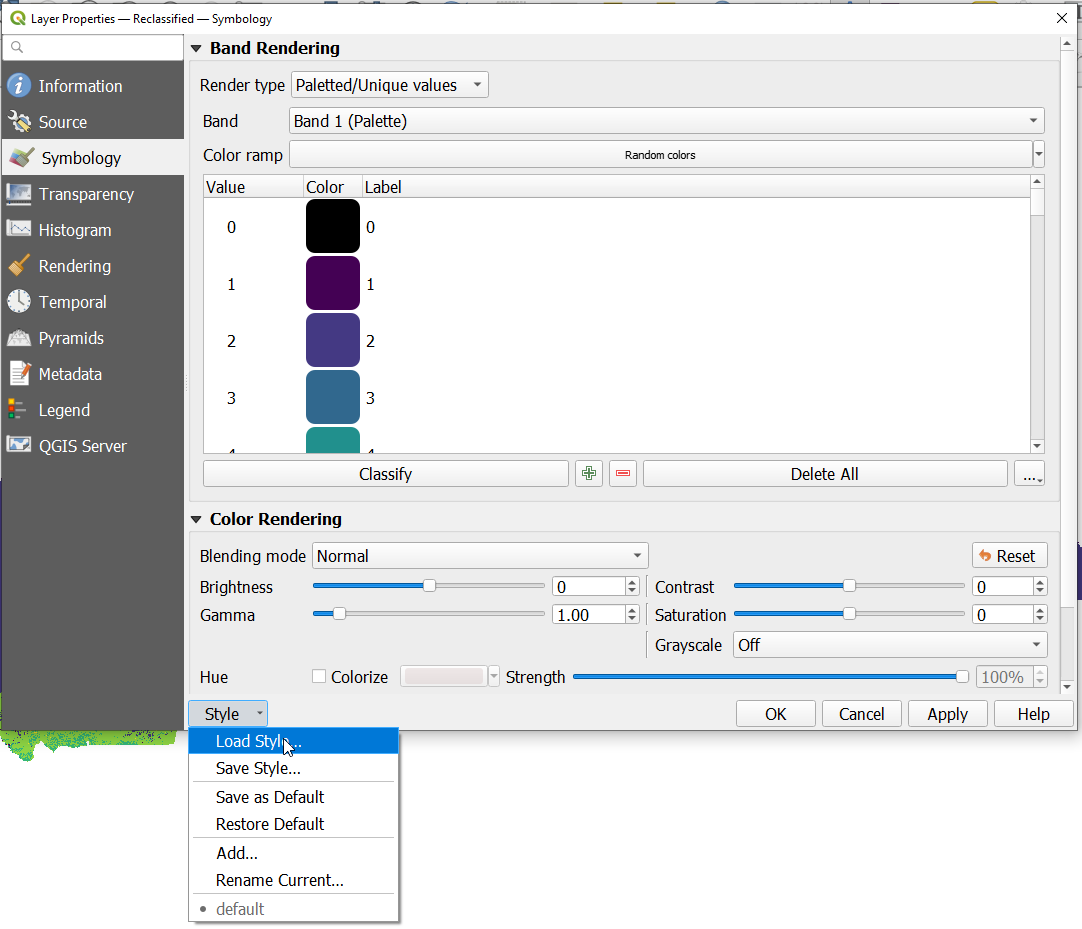
Once the data is reclassified you can upload the QML style layer to visualize and validate the reclassified land cover data.
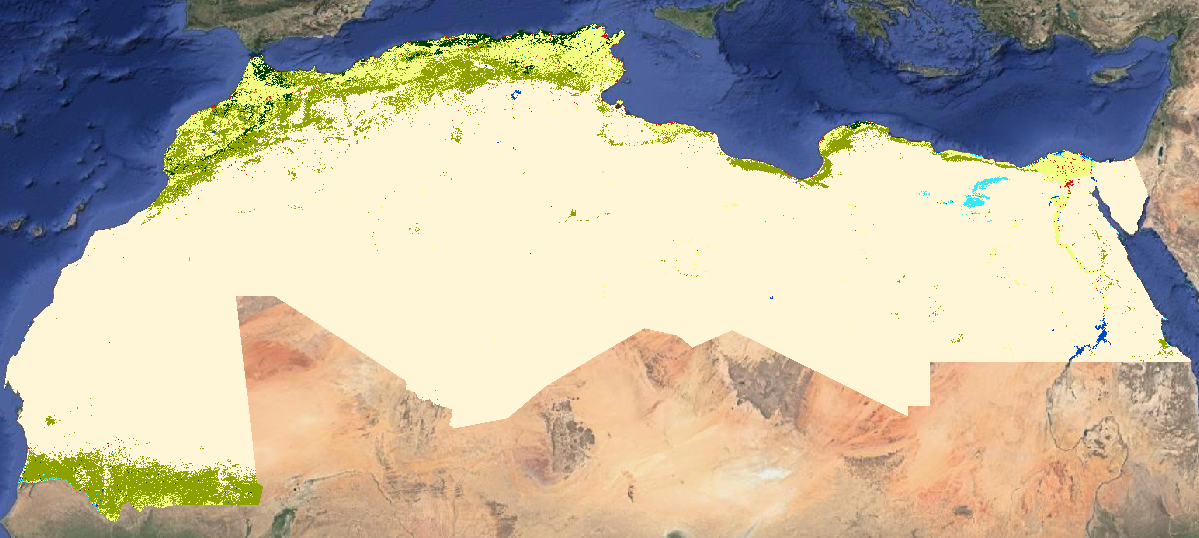
Finding the r.reclass processing tool#
Data Upload to MISLAND service#
To upload the Land cover dataset to the admin panel. Follow these simple steps
Select the Rasters option from the list of options on the admin panel
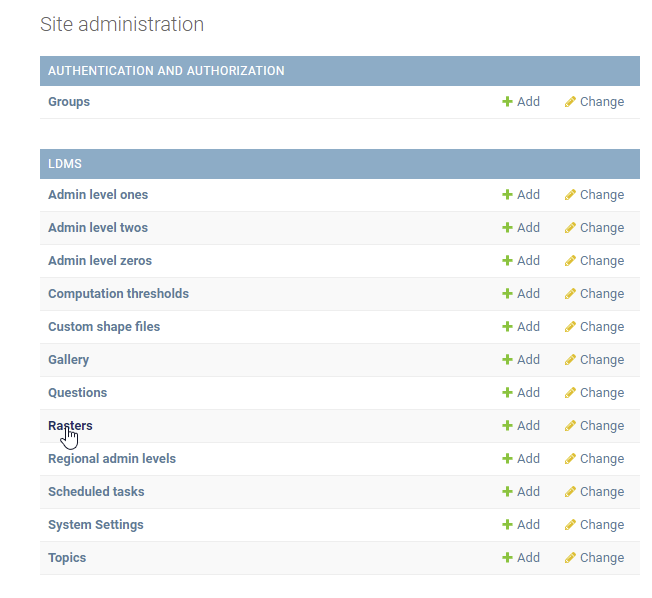
Rasters option on admin panel#
2 From the FILTER options, By raster type select LULC: Land use/land Cover option to view the list of Land cover datasets that are already availabel on the database
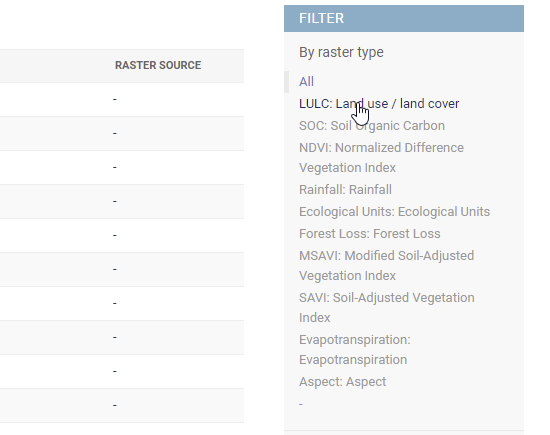
Selecting Land cover option from the list of filters#
Once you have confirmed that the raster you wish to add is not in the database. Select the ADD RASTER option from the top-right conner of the admin panel.
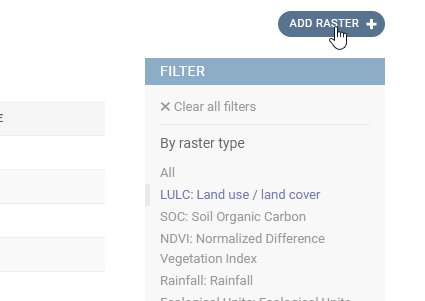
Selecting ‘ADD RASTER’ option#
On the add raster form that opens up, fill in the Name of the Land cover raster you with to add, then select the Raster Year and the Raster Type as shown below:
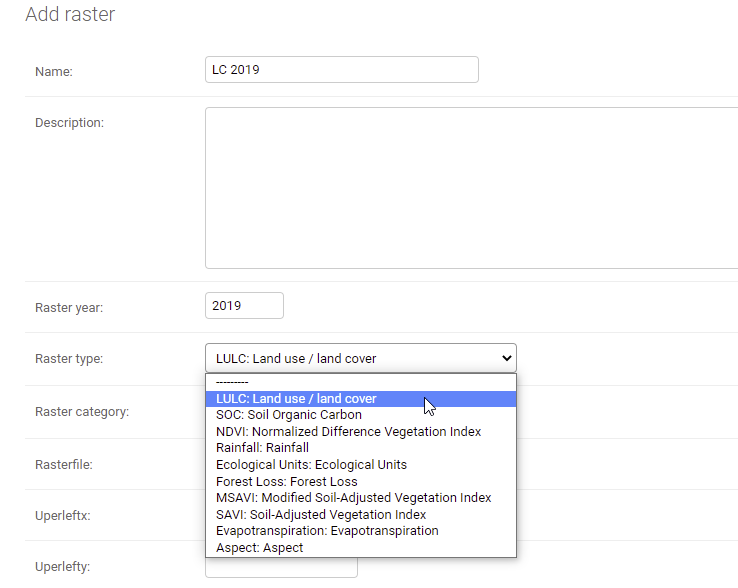
Filling the ADD RASTER form for land cover data upload#
Note
It is recomended that you include the Year of the raster in the Name field as shown and that you associate the Land cover raster with the LULC: Land use/land cover *Raster Type*for the system to work properly and point to the right raster dataset.